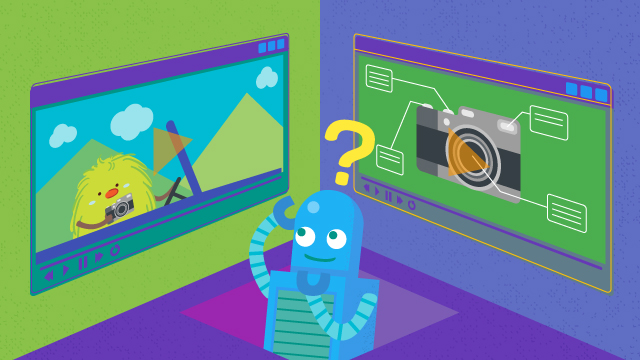
There are seven steps you need to pay attention to when you want to create an explainer video. Each step is essential in creating an explainer video. We strongly recommend not to skip this step.
#1. Project Research
The first thing to do is research. Before creating an explainer video for the customer, the team will conduct a brief and detailed analysis of their client’s product and brand.
Next, they will ask their clients for detailed information about the type of style they want in their video. The team will get information about the purpose of the product or brand that the client wants to highlight in their video later. Getting to know your product helps the team understand how they will showcase your product.
This step is the doorway to starting the whole video production process. If you want to ask a studio agency to make your explainer video, try providing full explanations and details. If you find a particular video that you like, it will help them understand your vision as well.
#2. Script Writing Process
After the team has finished observing the desired customer data, product and video, the team will immediately enter the script writing process.
In script writing, the writer pays attention to the short span that explainer videos have.
For the scriptwriter, the shorter the narrator speaks in the video, the more the viewer remembers the main point of the message.
The standard script length for explainer videos is 150 words per minute. The reason behind this rule is because video agencies want viewers to understand the video message well.
#3. Designing Character Process
Once the client agrees with the script, the video agency team will move on to designing the characters.
For animated explainer videos, designing the characters is an important step. Characters must not offend ethnicity or race but still include the company brand.
In animated explainer videos, clients can request non-human characters if desired.
Therefore, the client must be cooperative in this step.
#4. Storyboarding
This process helps clients learn the visual process of the entire video, including background and color visualization.
In this step, the client can get several revisions to the visualization style. Also, in this session, the client can check the color compilation of the entire video.
At this stage, you as a client need to make sure that all the characters, colors, and visualizations match your needs because this step is the decisive step for the client to jump into the video phase.
#5. Voice Recording Process
In this process, the client must select the desired speaker to be the narrator in this video.
A professional speaker handles this process. You can request a revision if the speaker speaks too fast or the intonation is lacking.
In this process, you have to make sure that the script is conveyed well to the audience. This step is as important as the other steps because the narrator can capture the interest of your audience.
#6. Video Production Process
In this phase, the video production companies will provide the client with the first draft of the video. Clients can request changes, comments or revisions to make the video look much better.
After the revision, the video agency will send the entire video with the revised version.
This phase will decide whether the video will be shown or not.
Therefore, video agencies should try their best to fulfill the needs and desires of their clients.
#7. Music Process and Sound Effects
Finally, the video you wanted is done! The whole storyline is made into a great video. The process of music and sound effects is the final step to make your video feel alive and interesting.
You can choose music and sound effects for your business videos. Therefore, try to choose interesting and fun music that will lift the mood of your audience. But be careful not to choose music that will drown out your narrator or be loud enough to start your audience.
To make it easier for you, check the below infographic:
After this process, your explainer video is ready to be published.
